How to Do Hair Highlights
Getting your highlights done at the Salon can be a time consuming and pricey event, especially if you do this often. It eventually becomes non-enjoyable and you'll start shying away from getting them done at all. This is why I recommend you perform touch-up yourself in-between your appointments. When you're getting a little new growth at your root area, either you or a friend can highlight in the comfort of your own home!
It's still necessary for a professional to do a full head application if you have black, dark brown or previously colored hair and you're thinking of changing the pattern. This is because highlighting dark hair can be very difficult as it tends to lift uneven, and pull red or brassy undertones. So if you are not equipped with the right products then the entire process could end up a disaster.
With that said, if you have light hair and are only in need of a touch up, then I say go ahead and do it yourself. This way you can space out your appointments and ultimately save yourself a lot of time and money!
What You Will Need:
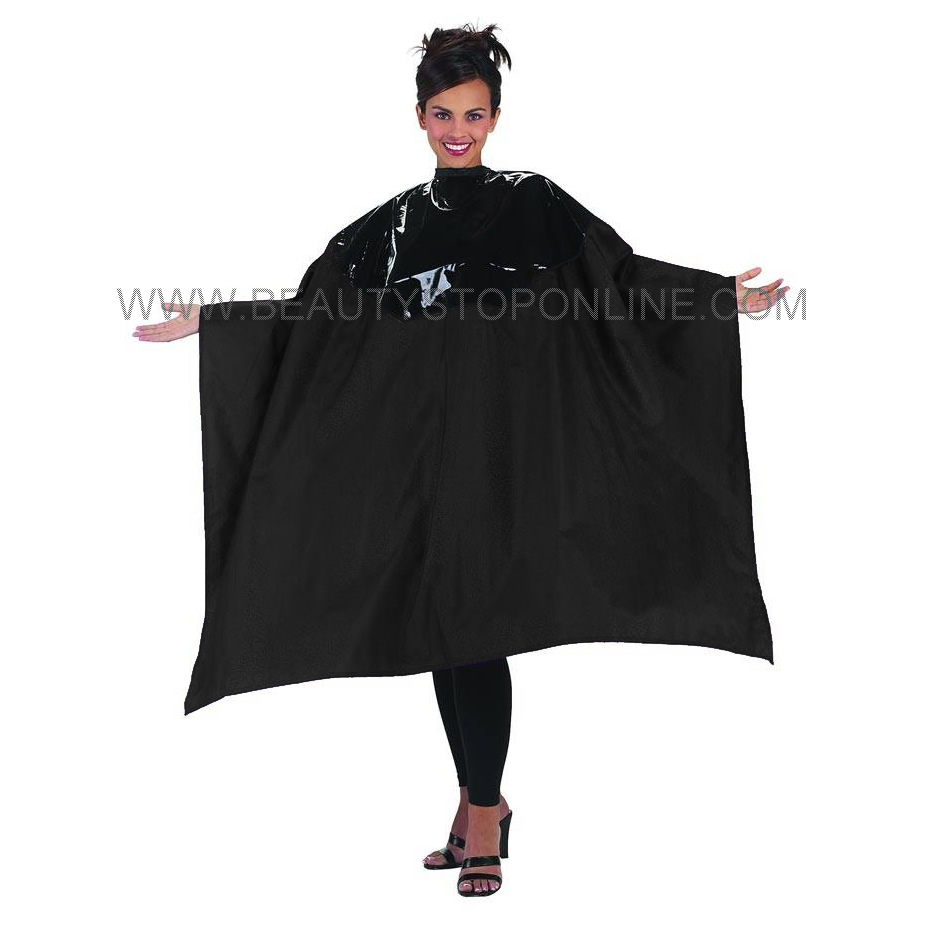
- Cape: The cape will help to prevent any lightener or color from staining your clothes.
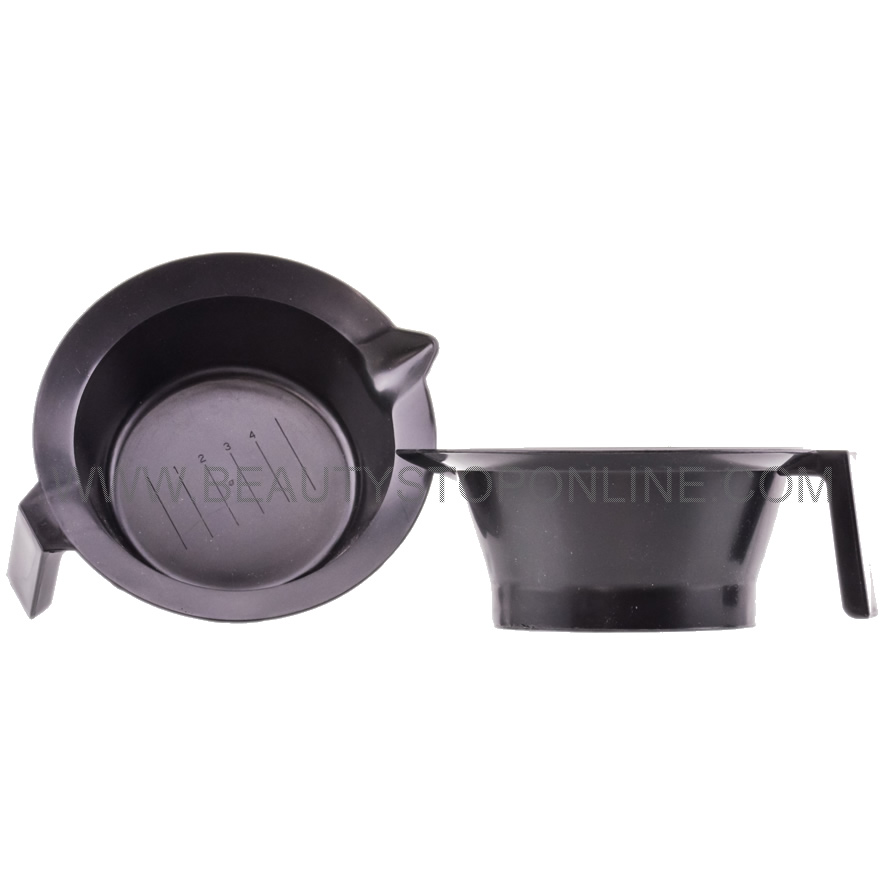
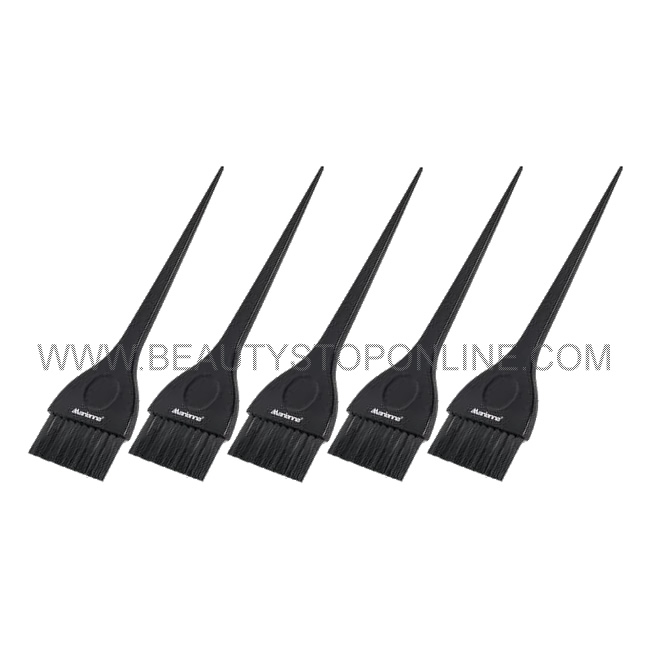
 - Bowl & Brush: These will be used to mix the lightener and developer together.
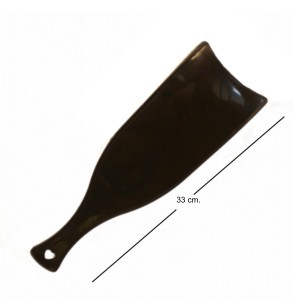
- Highlighting Board: This is optional but will help give you leverage and control of the hair that needs to get highlighted.
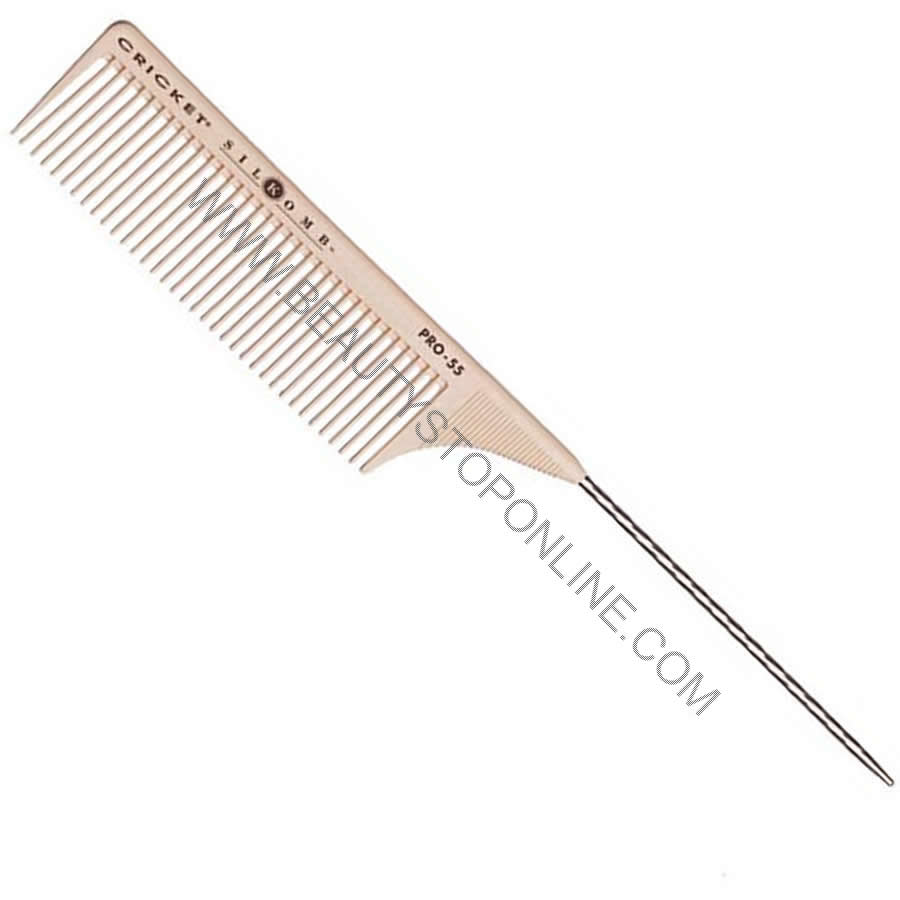
 - Rat Tail Comb: Also referred to as a Highlighting Comb, this comb will help you to section the hair.
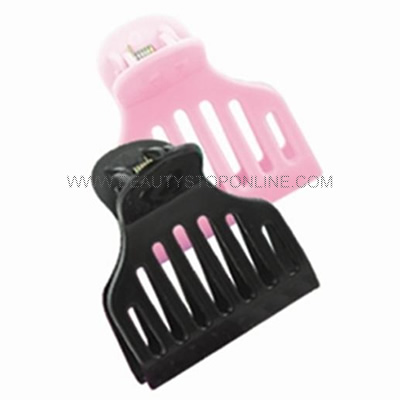
 - Clips: They will help hold any unwanted hair or foils out of the way.
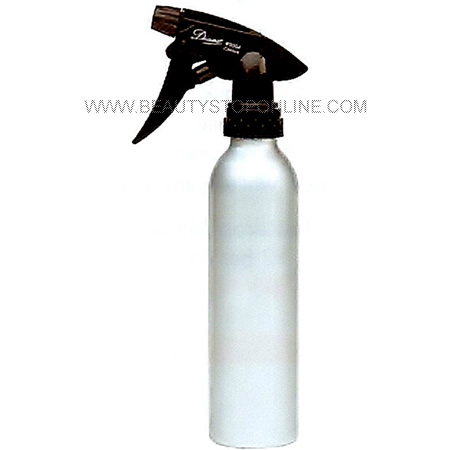
 - Water Spray Bottle: If you get lightener too close to the scalp or on the scalp then just spray with water and wipe away.
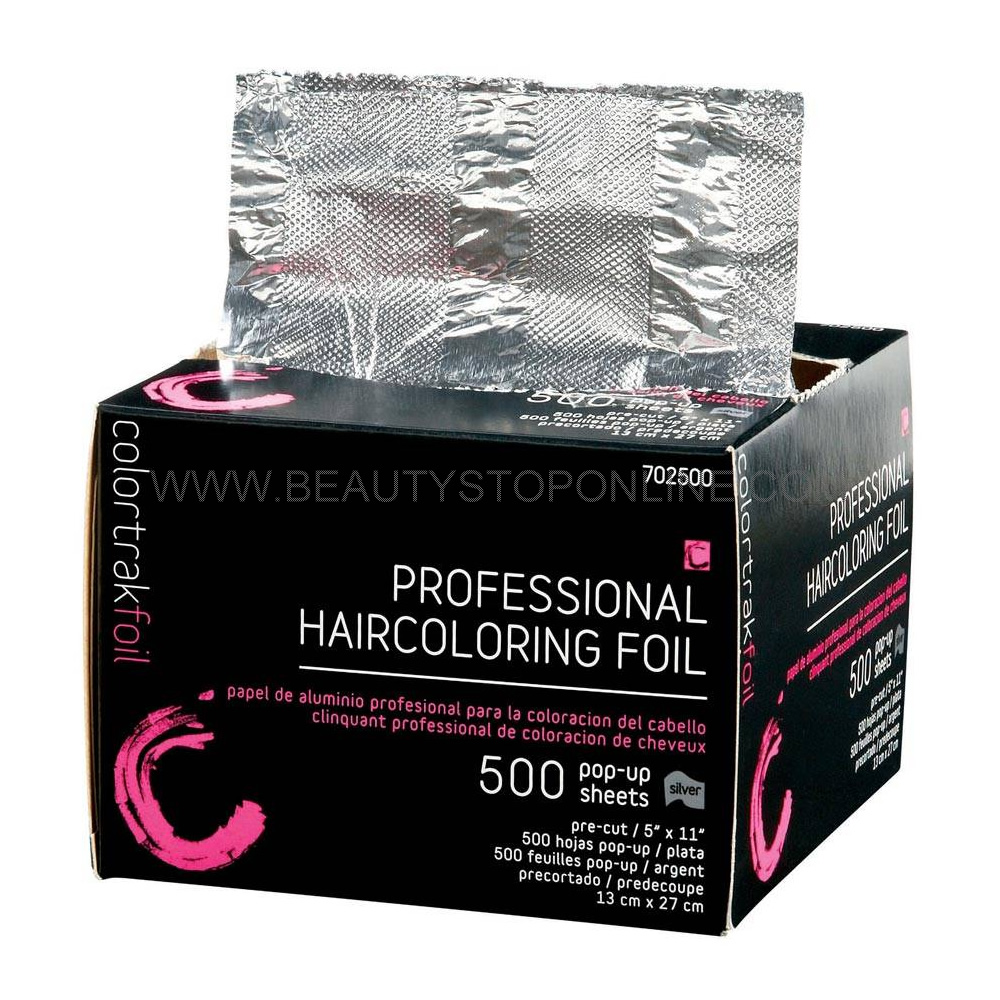
 - Pre-Cut Hair Foils: Will help the highlighting process, allowing you to move faster, as you can just grab one and move on to the next.
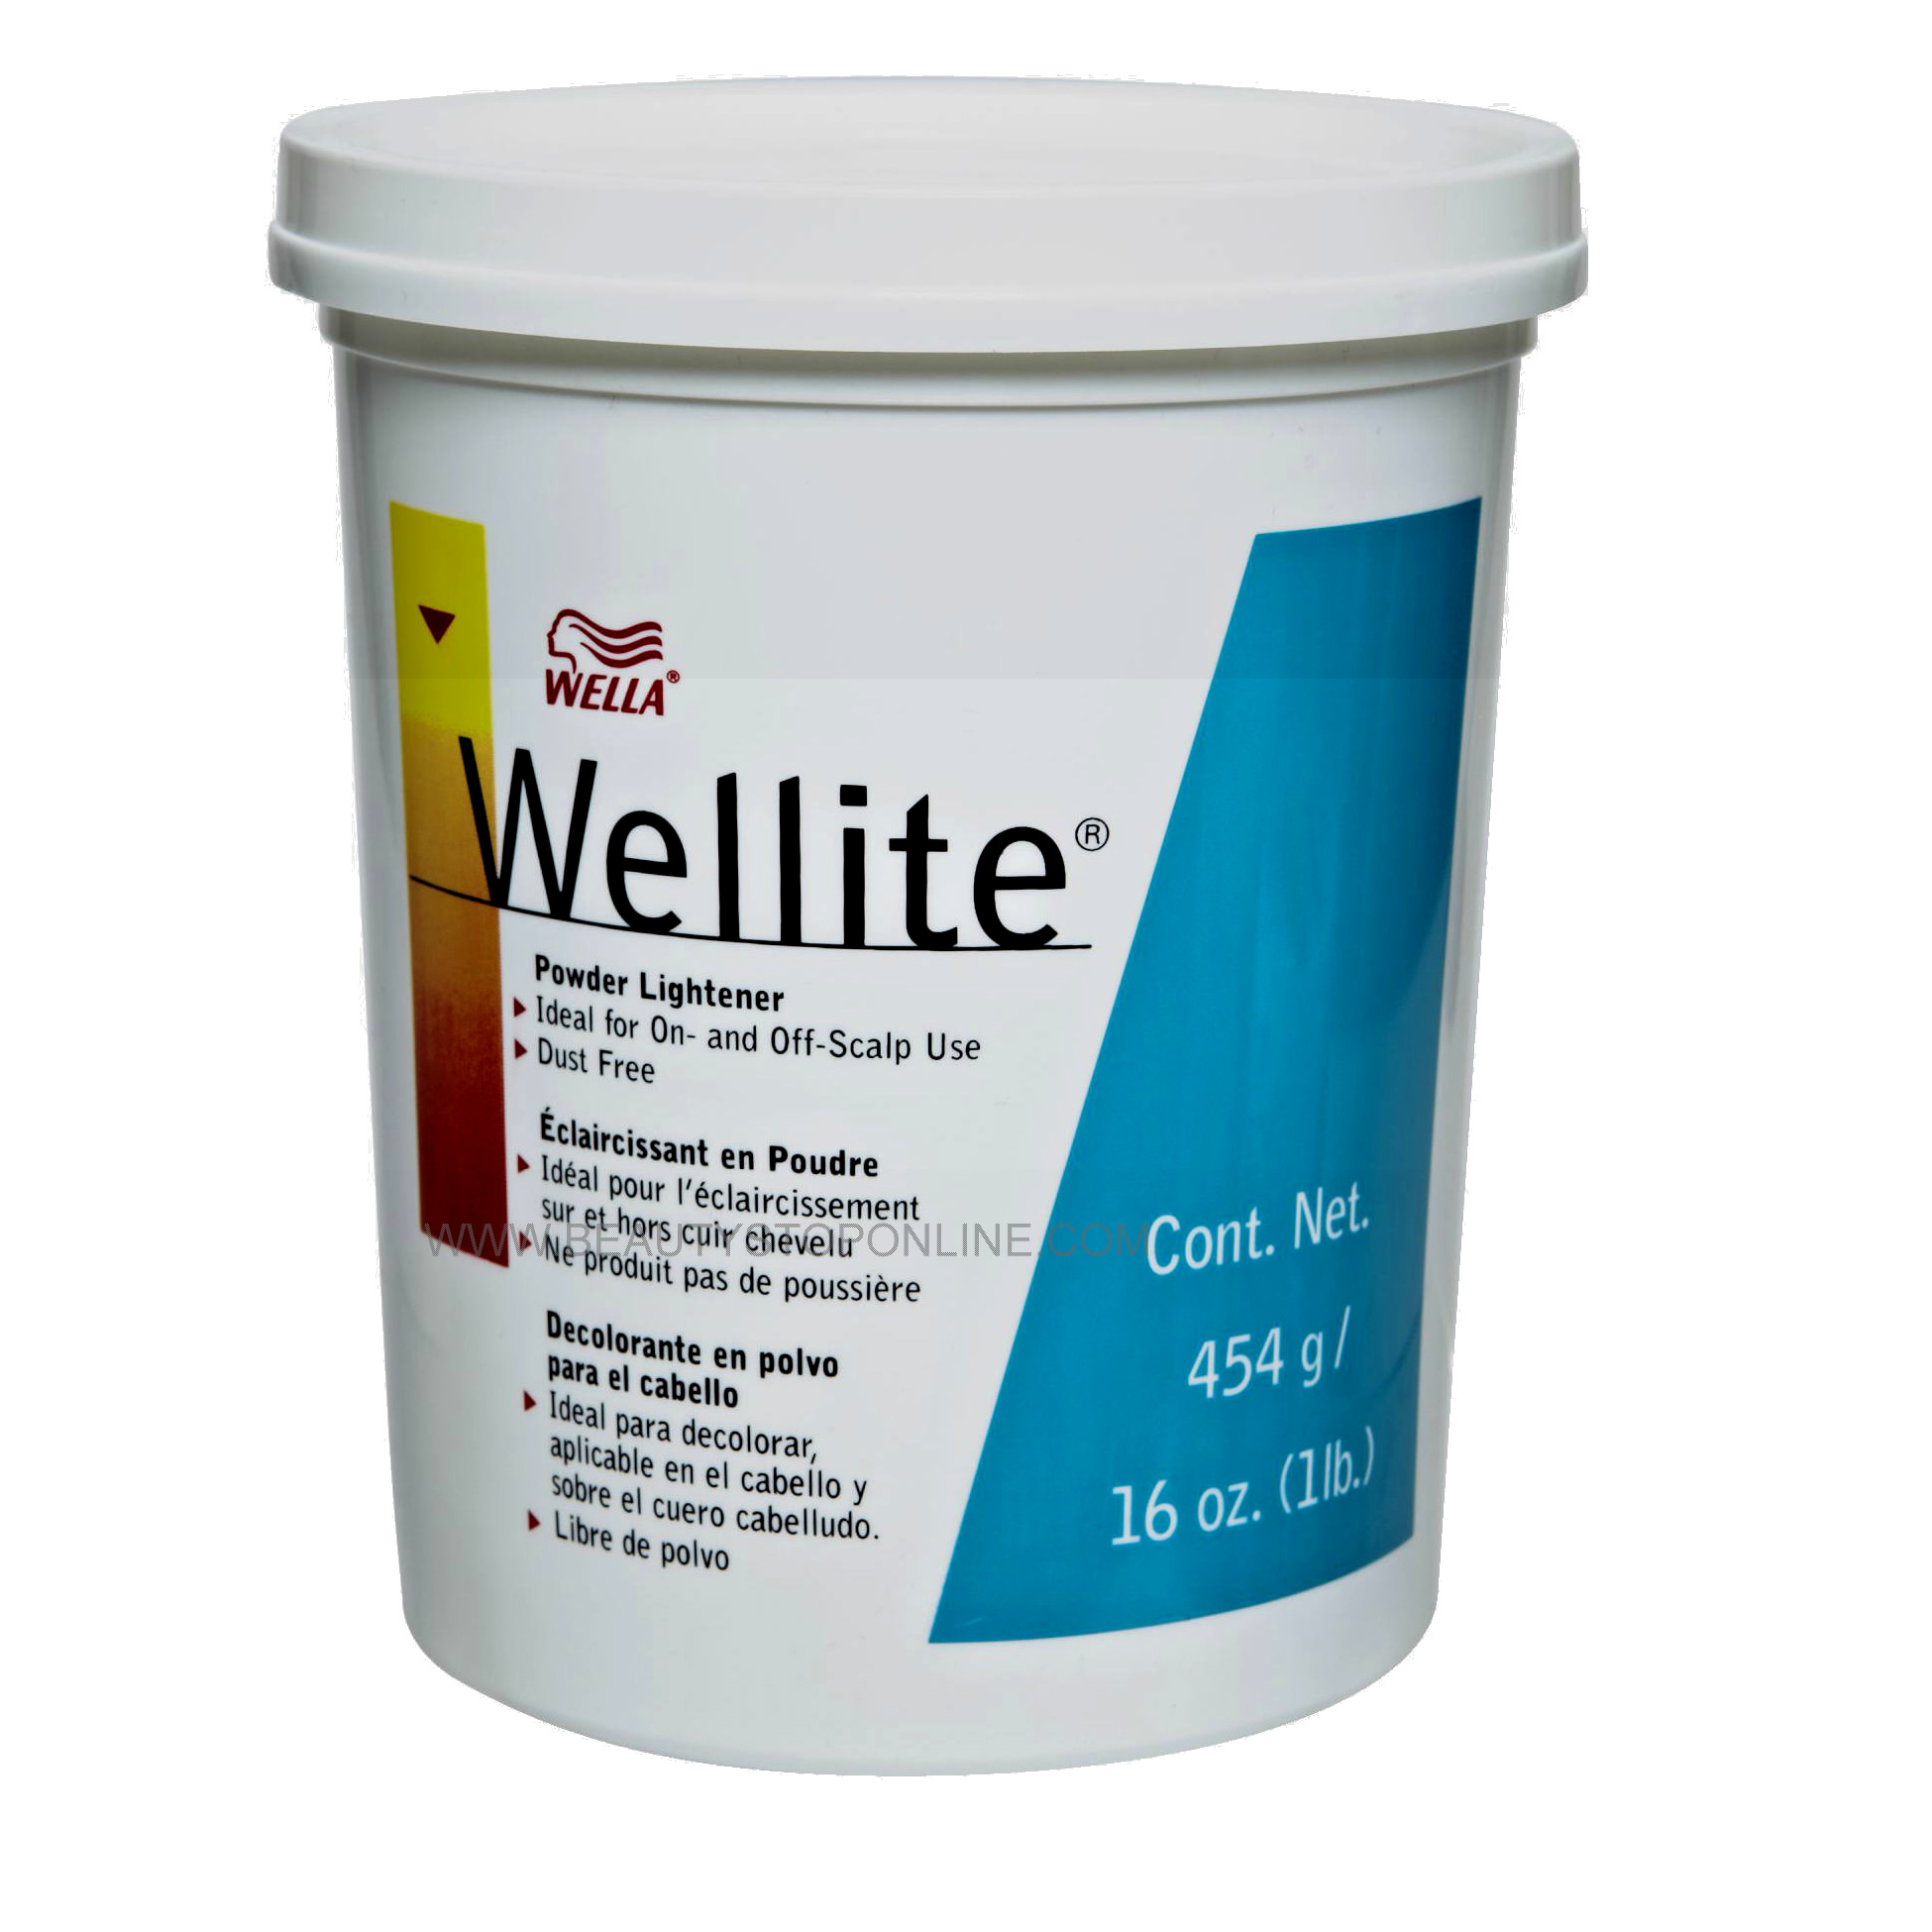
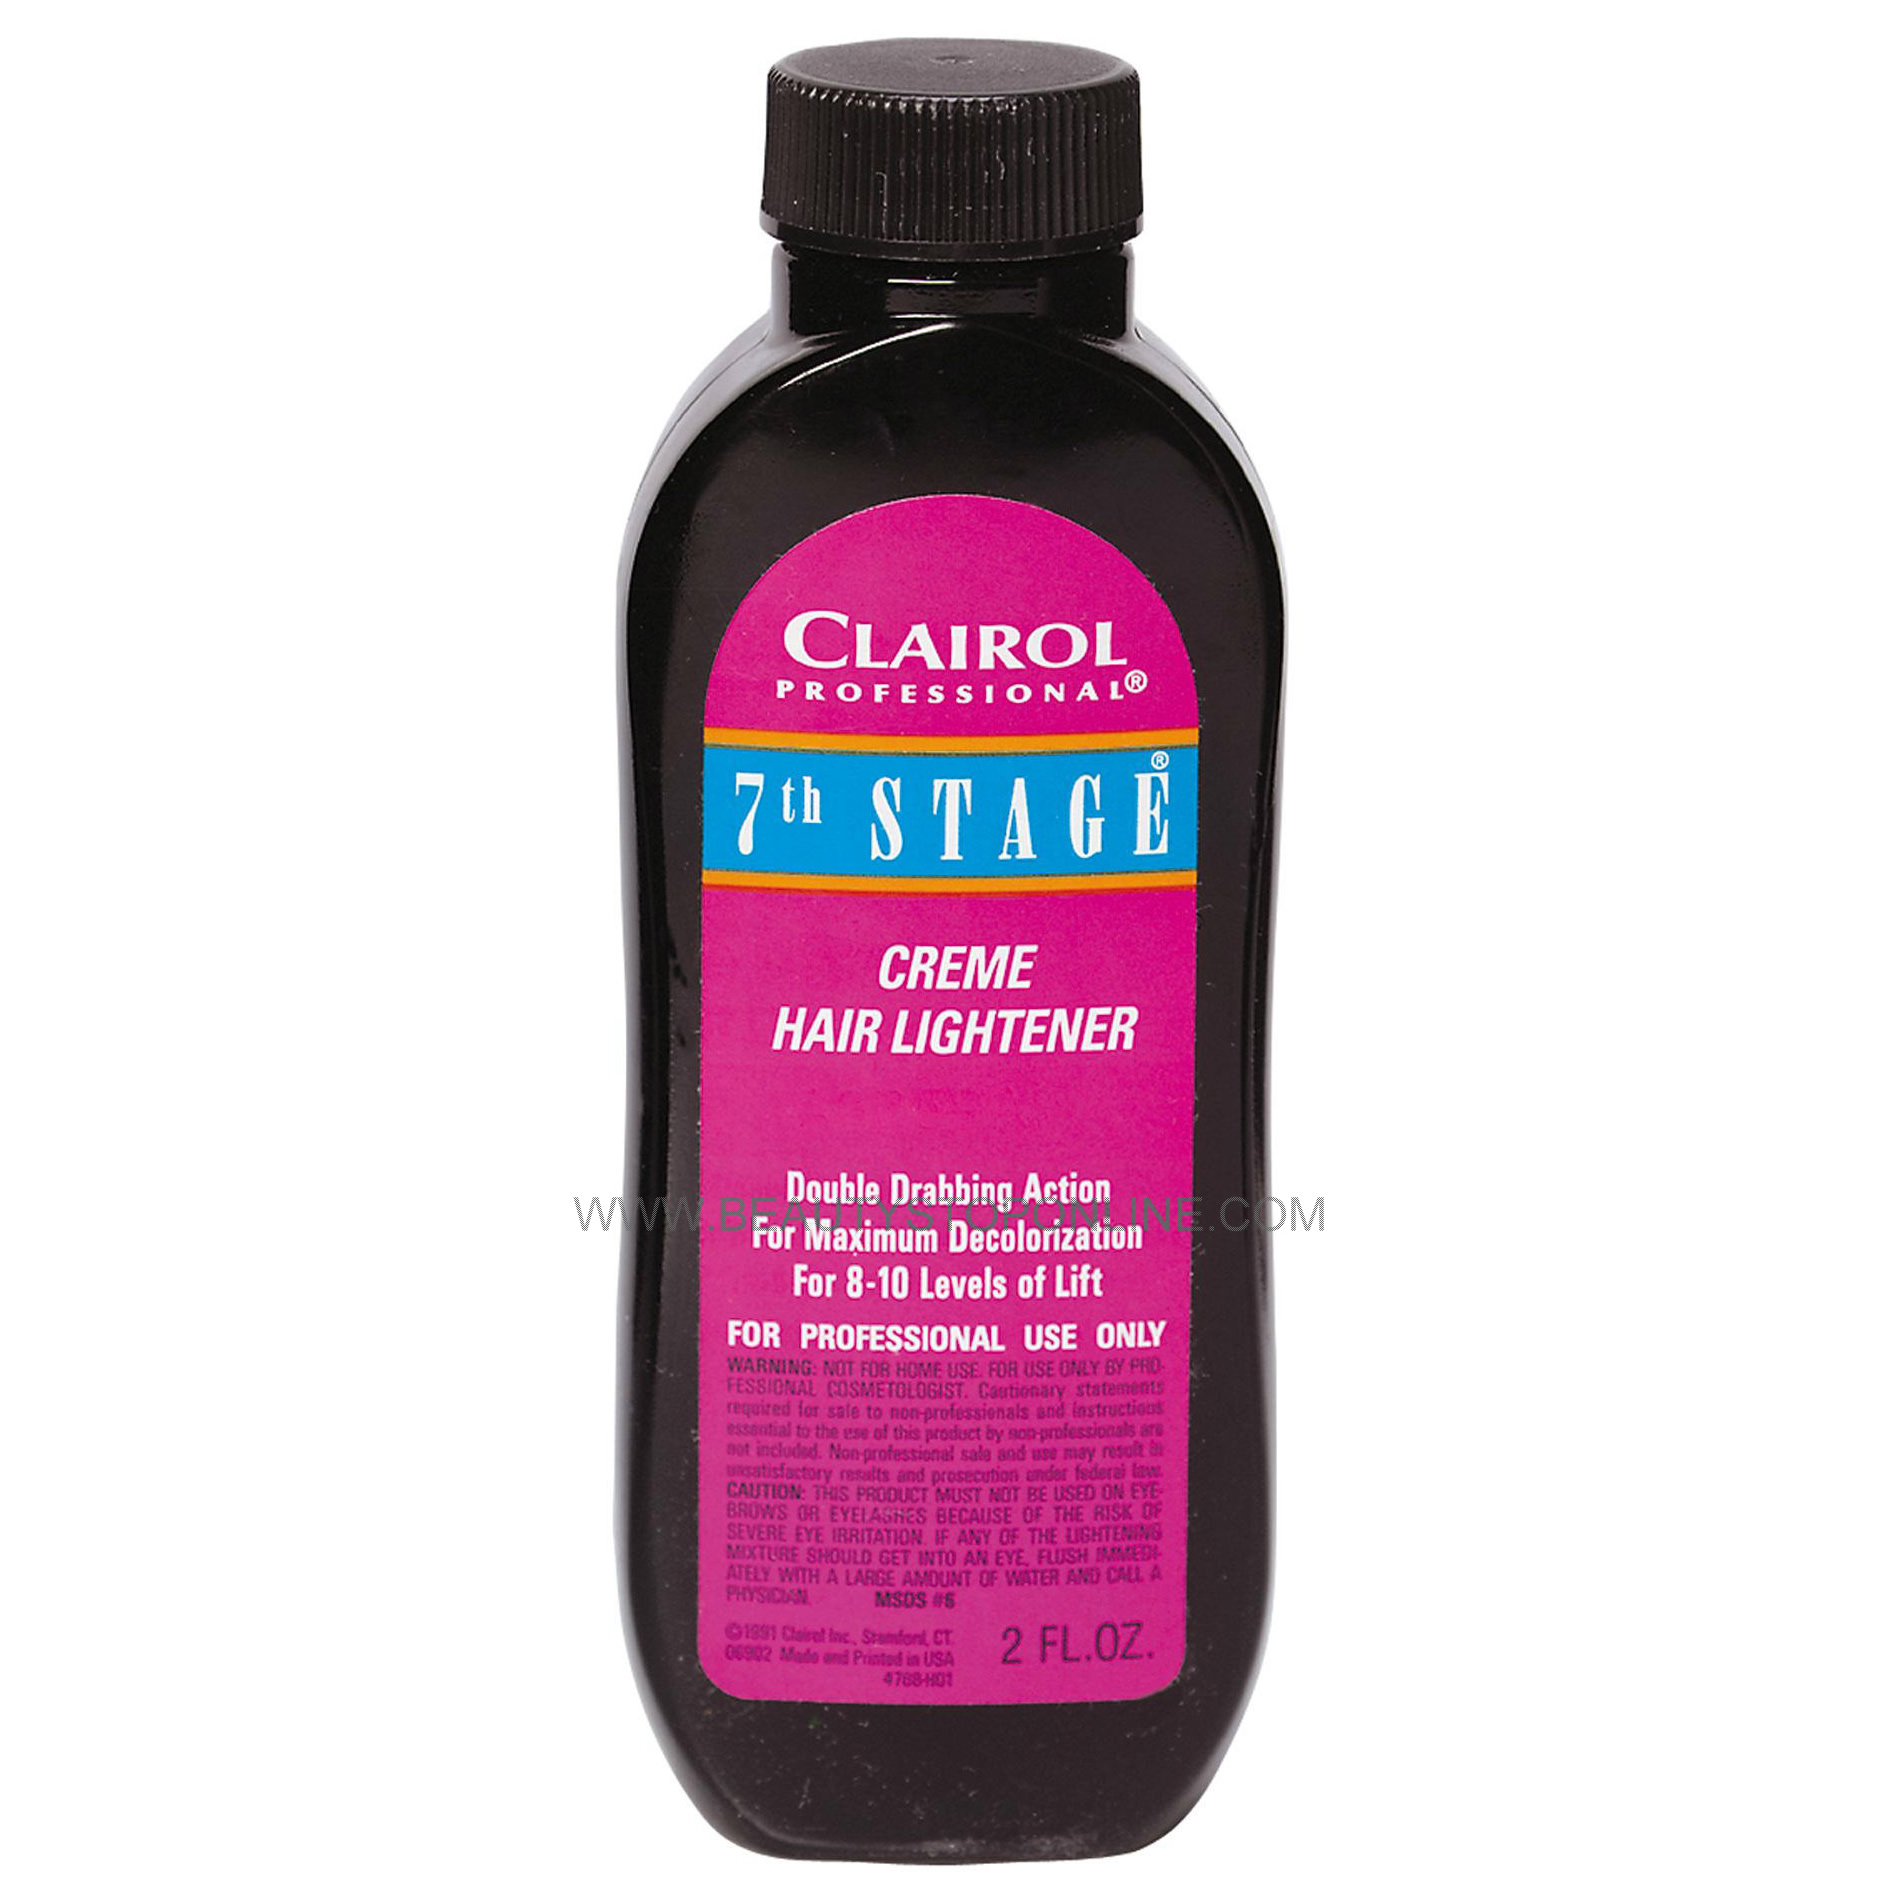
 - Lightener/Hair Bleach: They come in a powder or creme and you'll want to choose a lightener that is suitable for your hair color and texture.
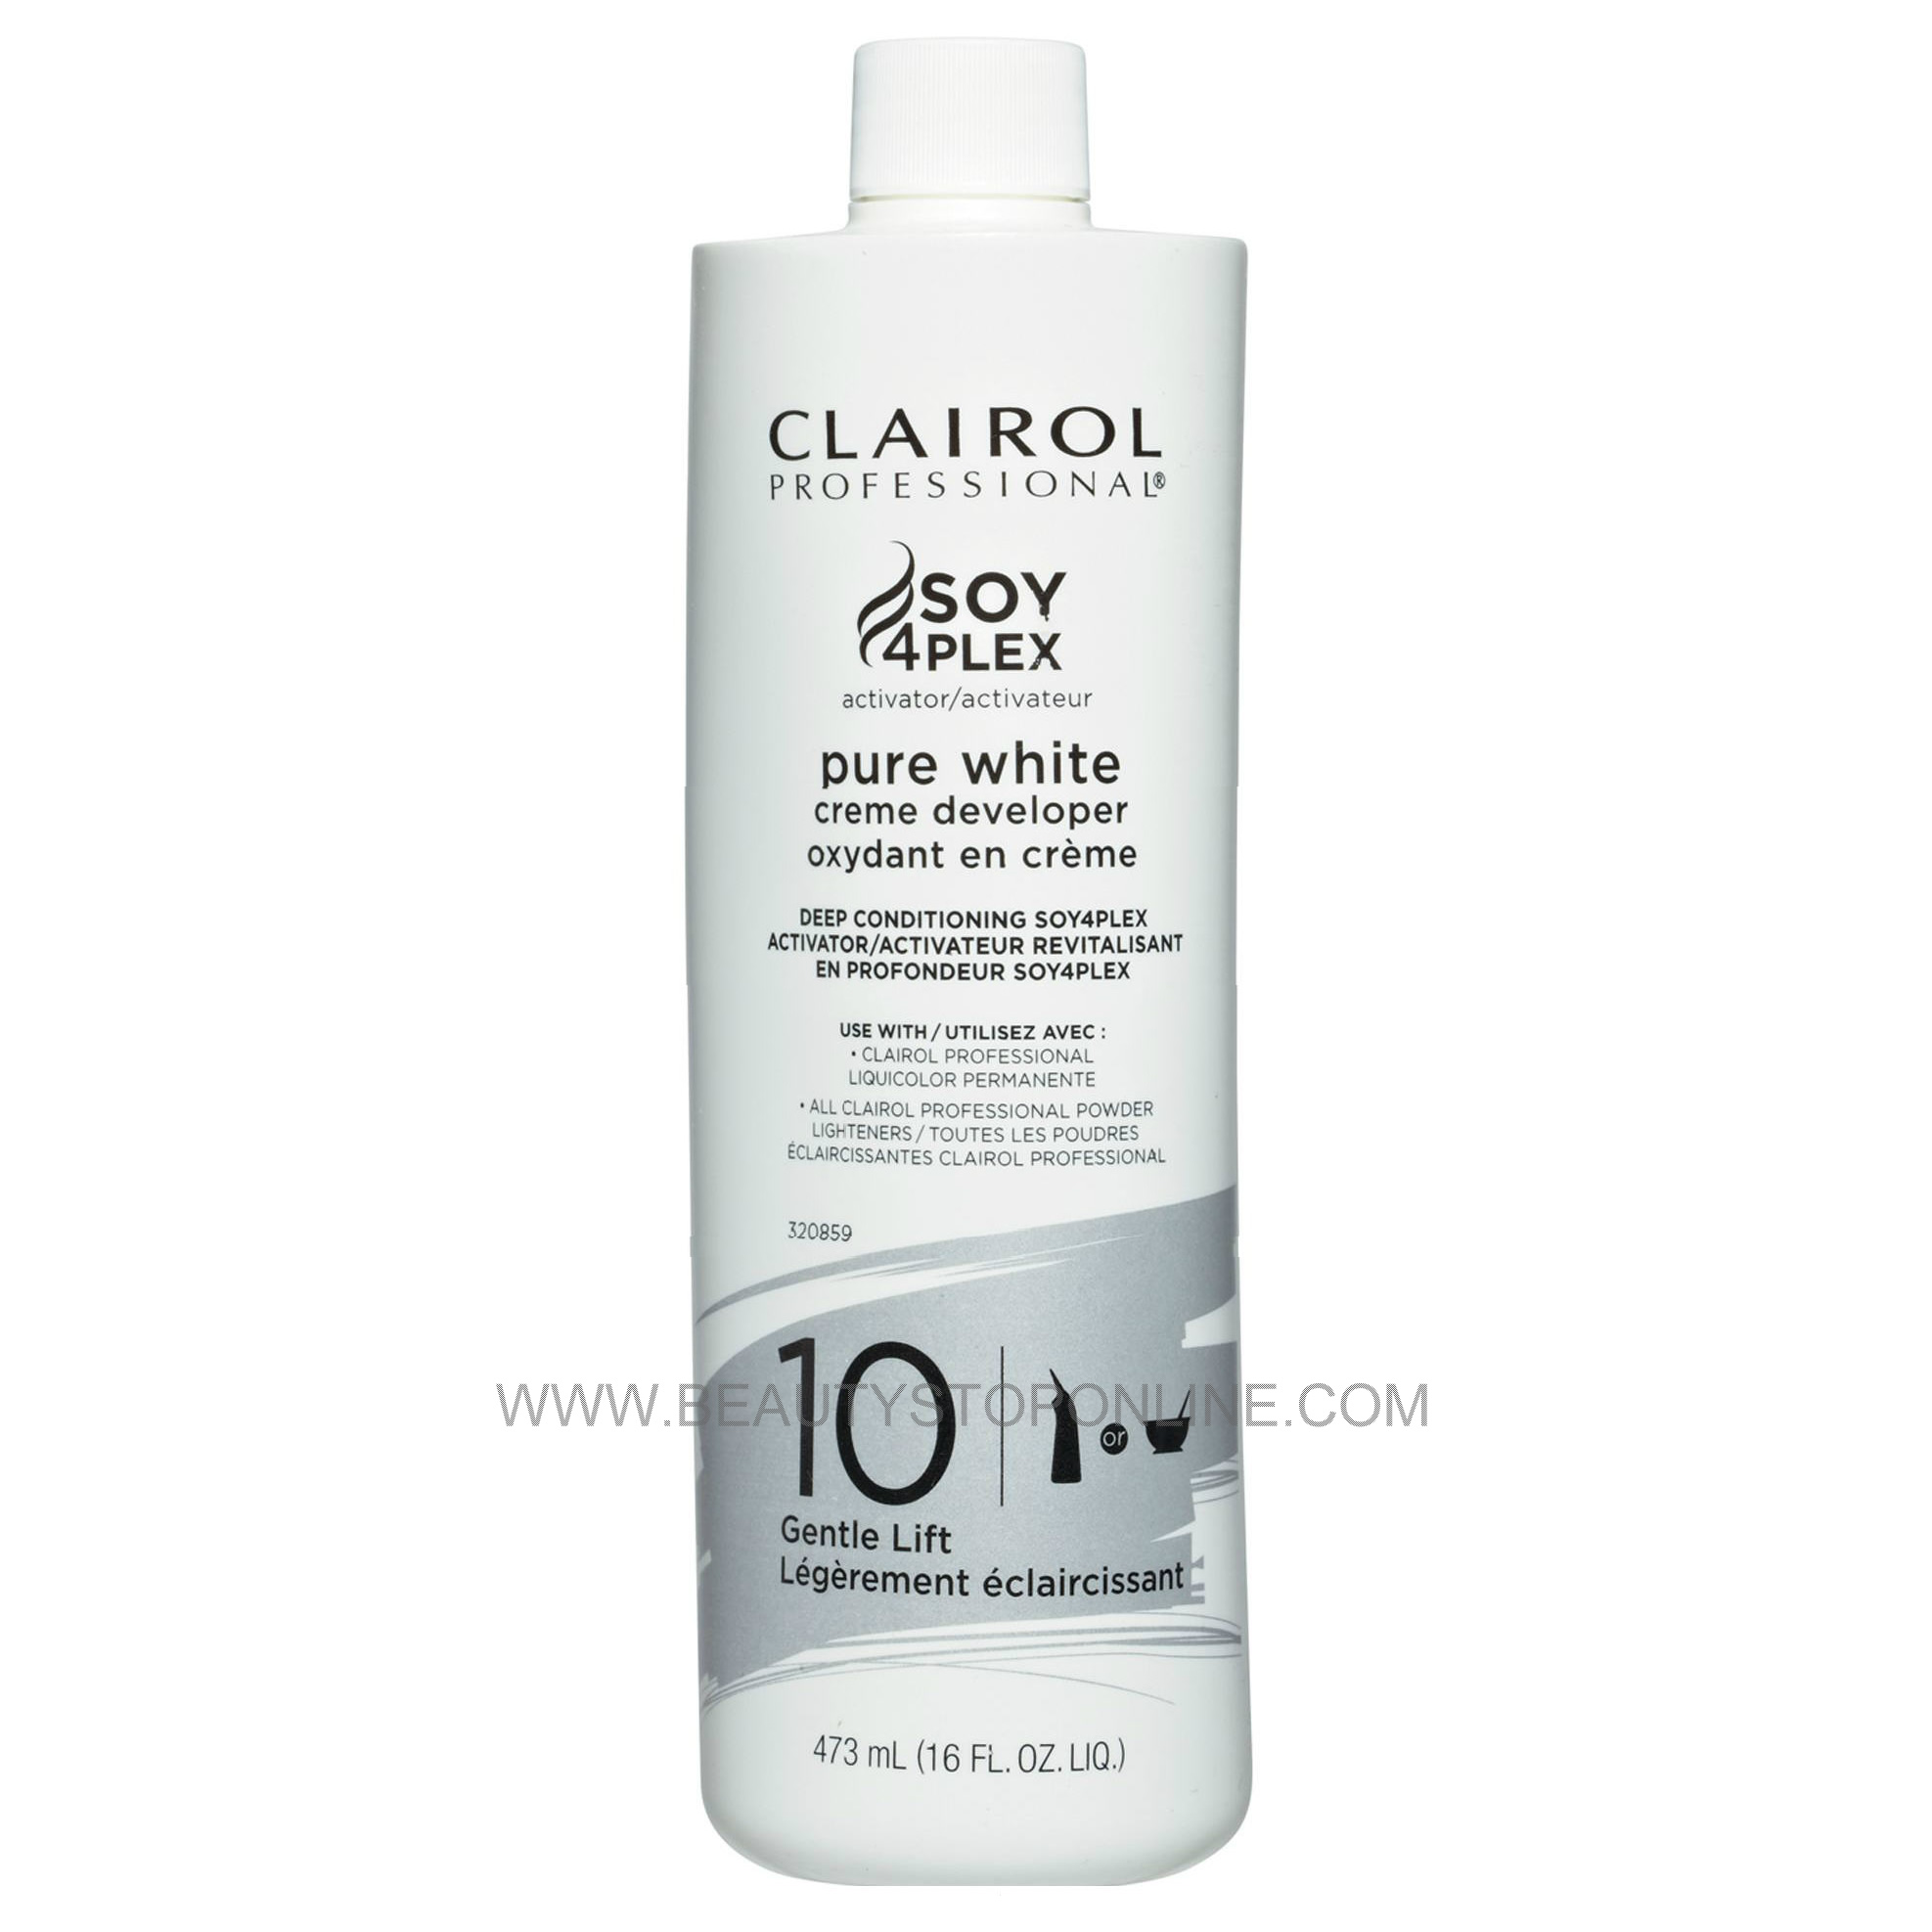
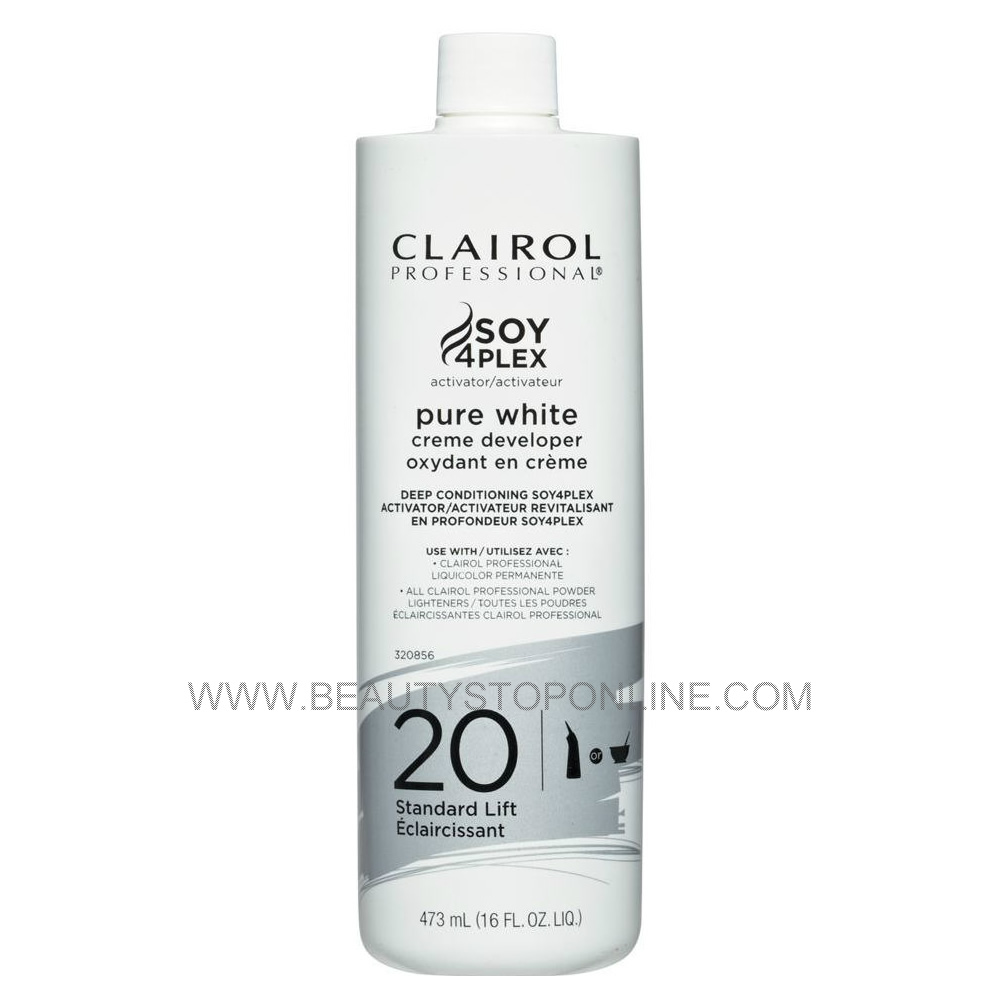
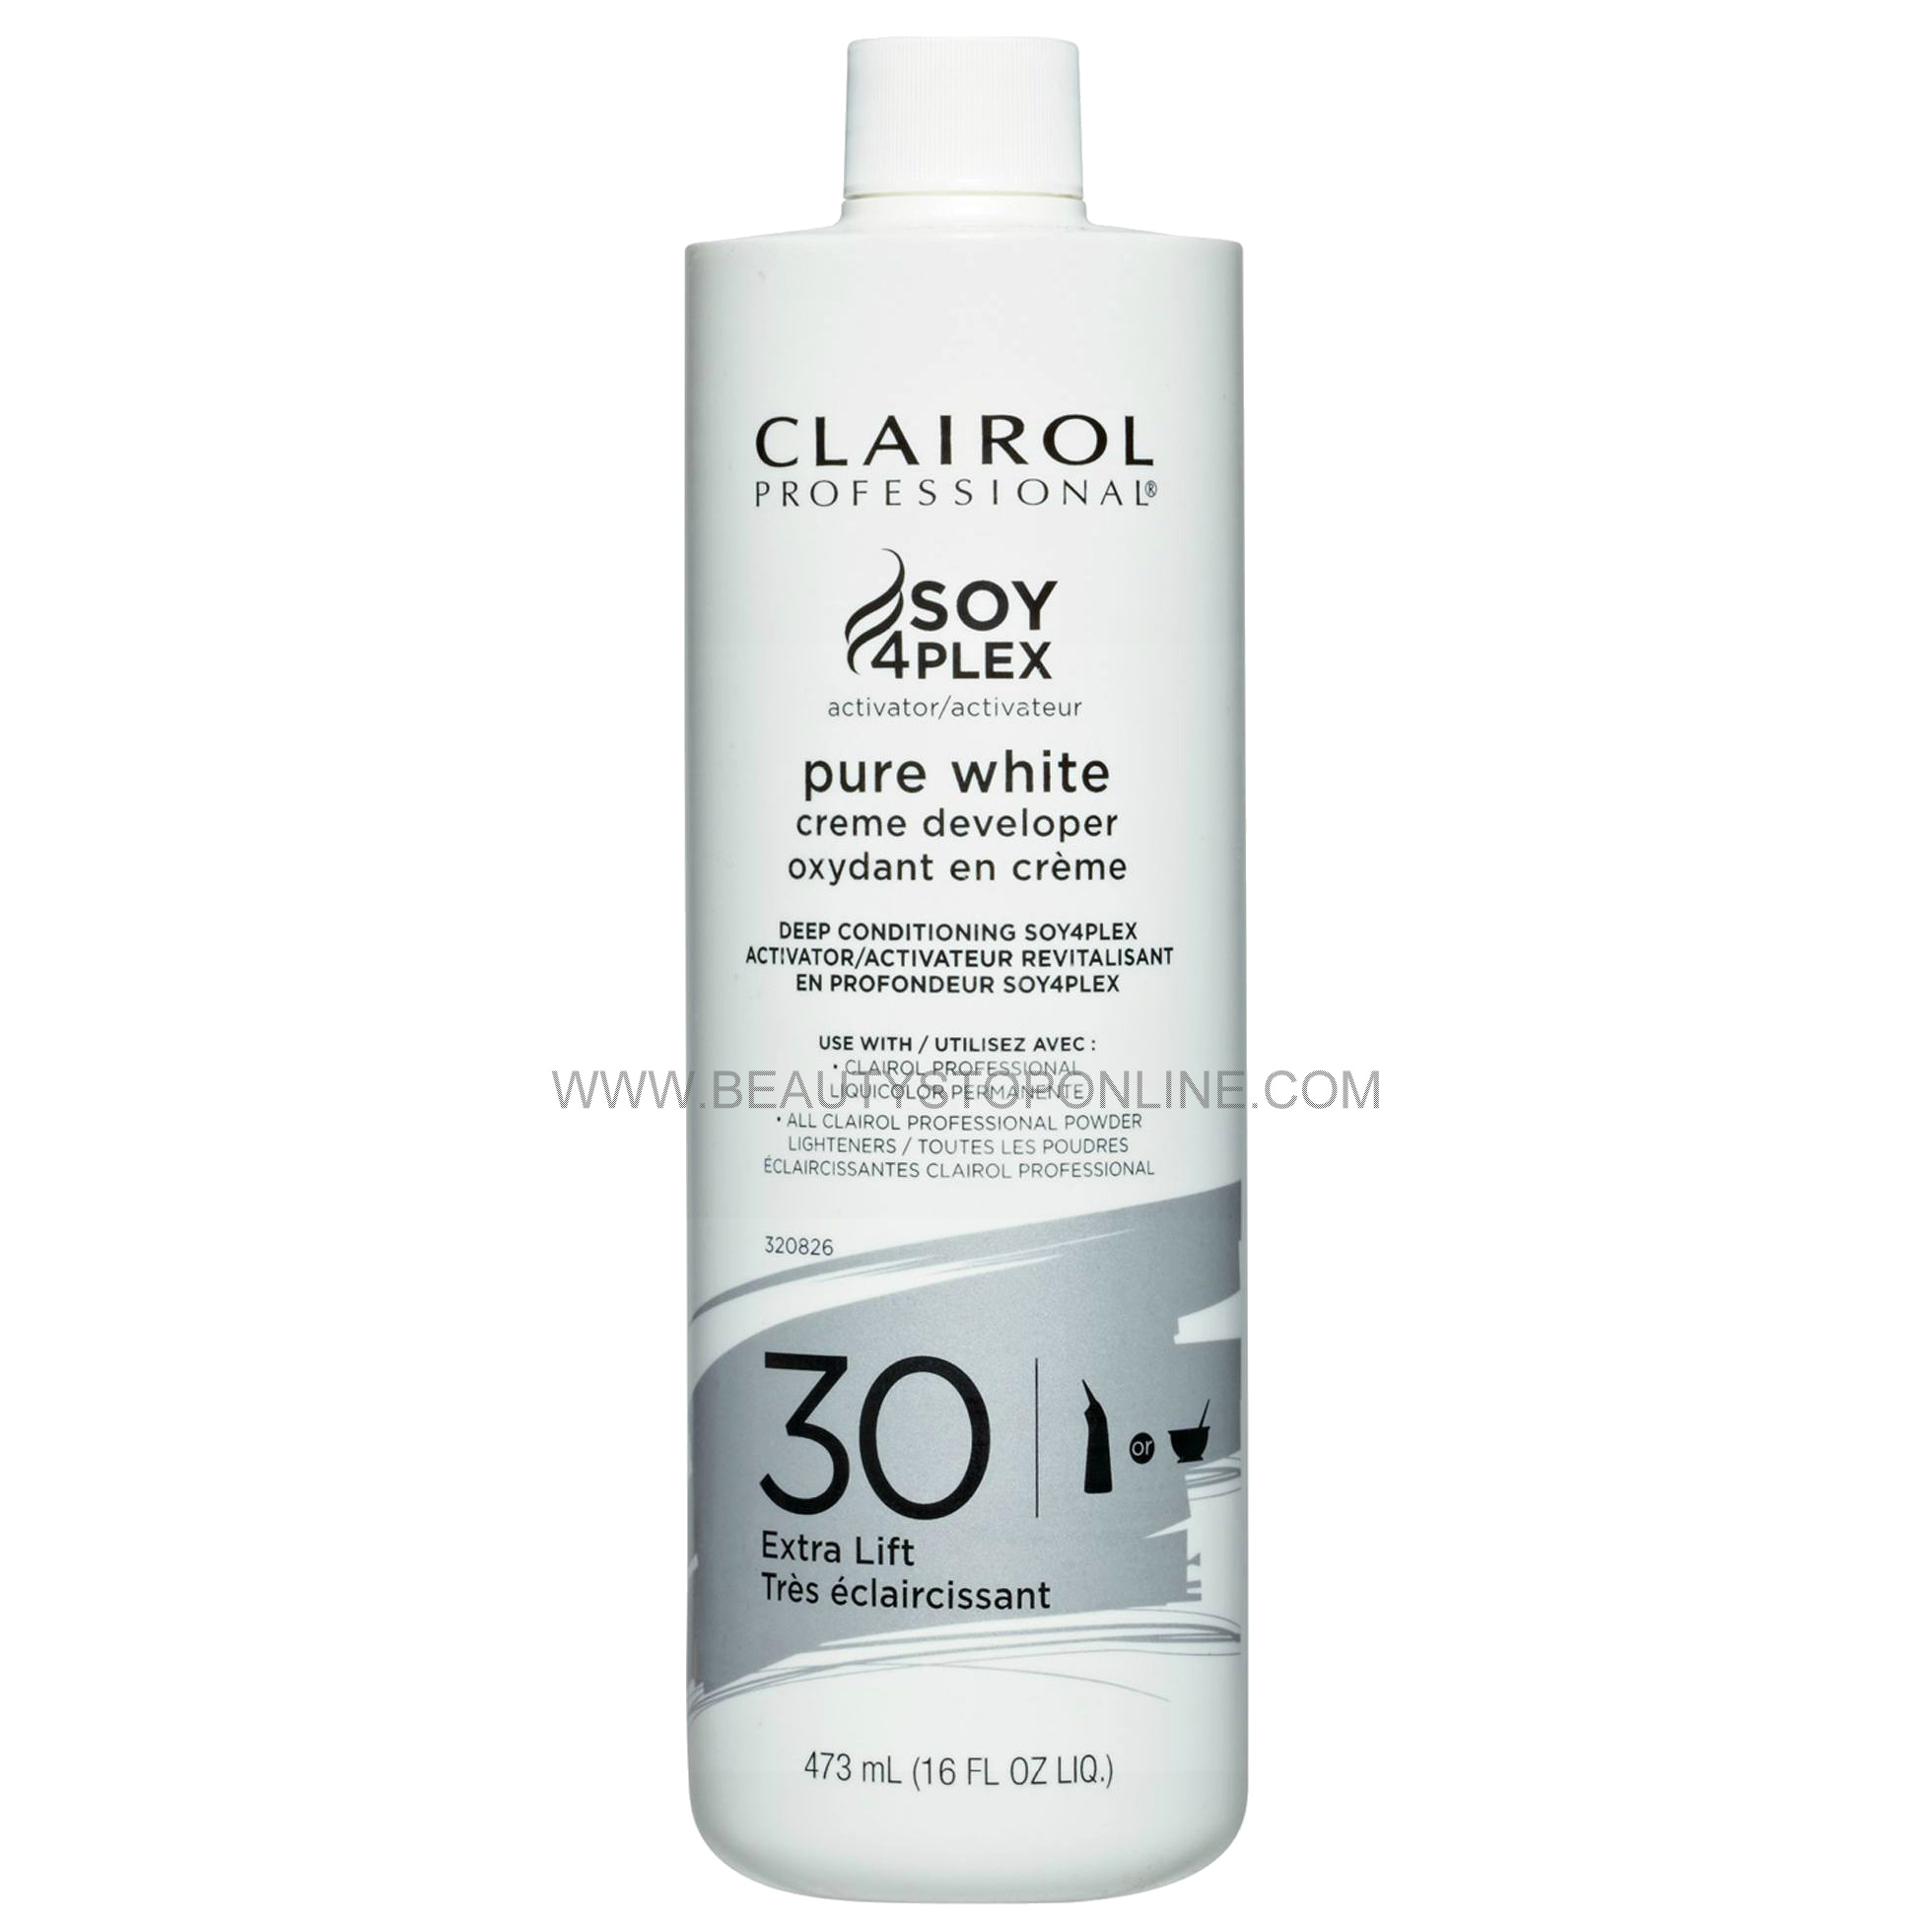
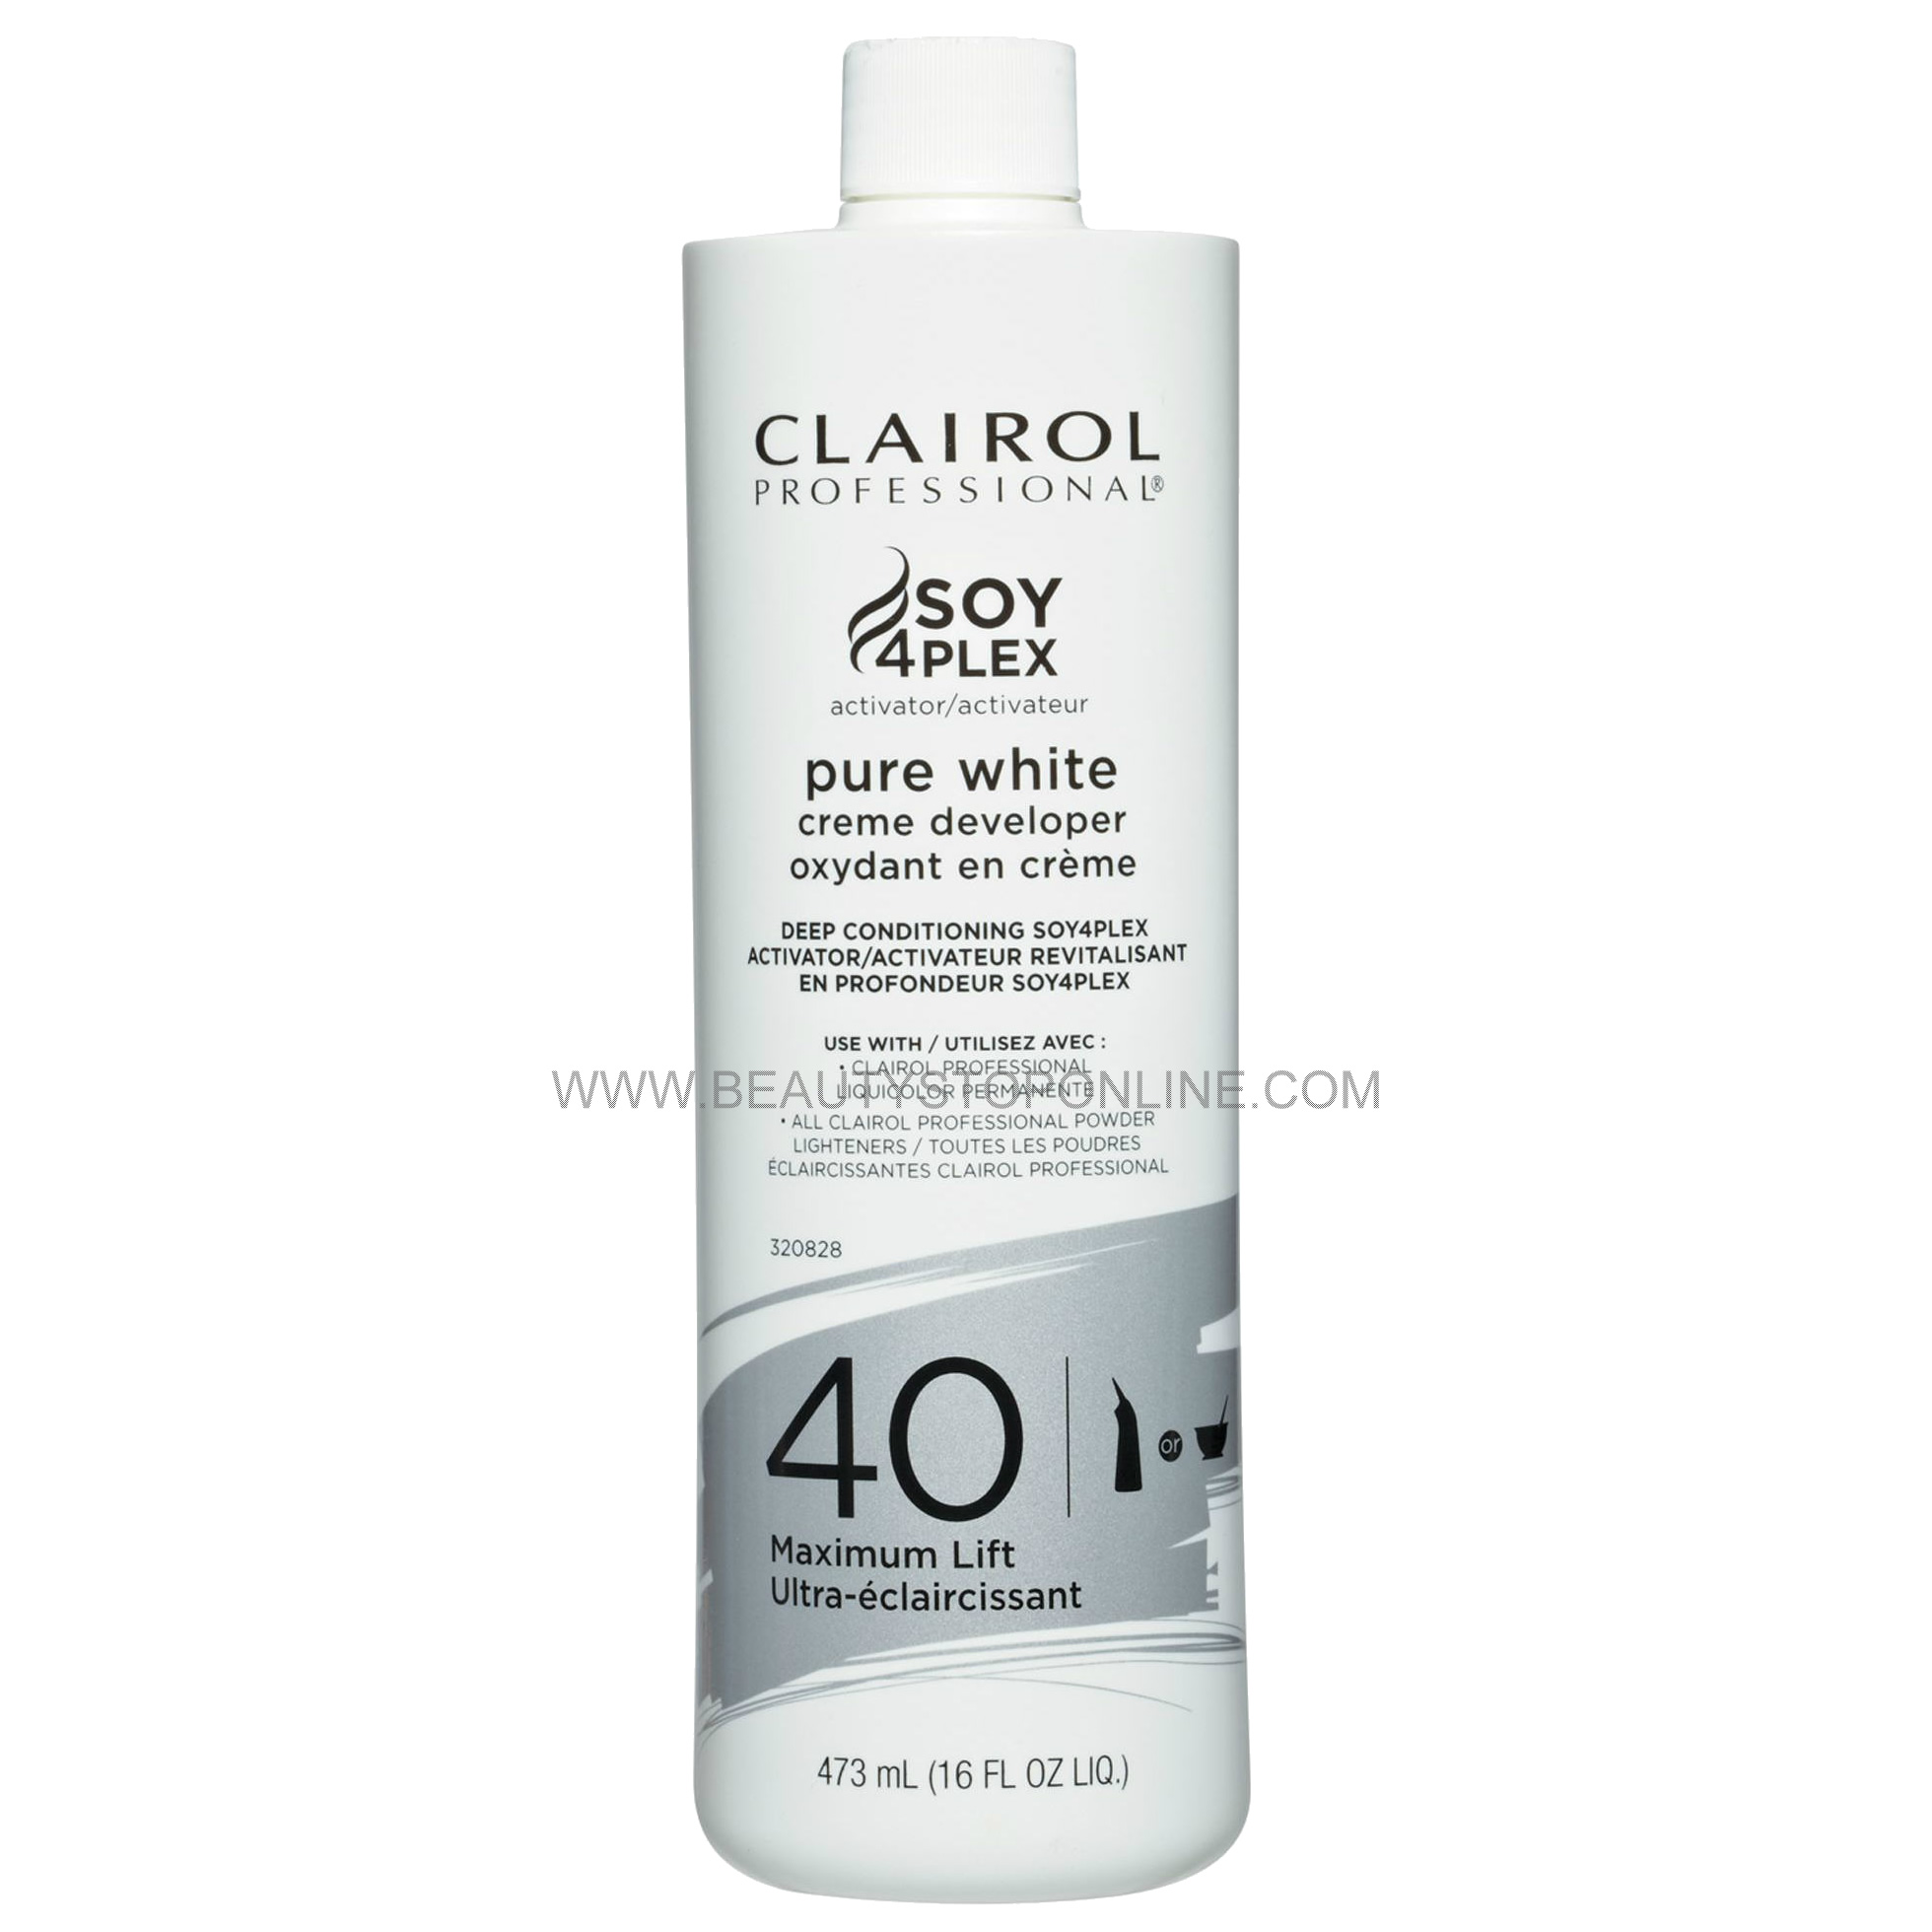
- Developer: Gets mixed with the lightener and developers are available in 10, 20, 30 or 40 Volumes. The most common one used is a 20 Volume. If you have light hair and are looking for a subtle lift then 10 Volume will work just fine. Try to stay away from 30 and 40 Volume unless it is completely necessary, as it's very strong and can cause unnecessary damage.
Directions For Foil Application:
- Section: You will want to section desired hair aside and clip back the hair that is not being processed.
- Mix: The lightener and developer are then mixed in the correct ratio and blended together thoroughly.
- Weave or Slice: Using your rat tail comb slice or weave a section of hair, making sure that it is not to thick, aim for around 1/4" of hair.
- Step 1: Holding the section of hair, place the highlighting board underneath the section of hair and lay the hair on top of the board.
- Step 2: Using the brush, apply the lightener to the hair starting at the roots and working your way down to about 1" above the ends, make sure there is not too much product on the brush you can always re-dip.
Note: Try not to pull lightener all the way through the hair if not needed, this may result in hair damage. Only apply mixture to hair that needs to be lightened, even if its only an inch!
- Step 3: Remove the board and fold the foil in half tighten, then fold up again, tighten sides by folding both side over about an inch.
- Step 4: Check to make sure no lightener is leaking out of the foil by the scalp. If you do see lightener then spray with water bottle and wipe away access product, use less mixture for the next one.
- Read the directions very carefully to see the recommended processing time and follow exactly. When your time is up check the foils by unfolding them down to see if they finished, if not leave on a little longer and keep checking.
- A blow dryer can be used to speed up the process, put it on medium to high heat and a low speed setting and warm up the foils. If you get them too hot then you can cause severe damage, be very careful!
- Shampoo & Condition: Remove foils carefully from hair and shampoo out immediately finish with conditioner!
Directions For Using a Cap:
- Place highlighting cap over your head, pull down tightly and secure by tying underneath the chin.
- Use the hook that was provided to puncture the holes using a slight angle and pull hair through, starting closest to your hair line as possible. For thin highlights that generally blend in, pull out thin sections of hair. Do this by not allowing the hook to penetrate your hair deeply. If you want thick bold highlights pull large sections by going deeper into your hair.
- Continue to pull out the desired amount of strands of hair.
- Once all the hair is pulled through the cap, using your protective gloves, prepare the highlighting mixture.
- Coat all the pulled out sections thoroughly and use your fingers in a lathering motion to be sure no hair is missed.
- Set timer for the designated processing time.
- Once the time is up remove the cap, rinse your hair thoroughly and shampoo if desired. Shampooing your hair right away can prematurely remove or fade your new hair highlights. Instead rinse very well and apply a conditioner to seal the cuticle and moisturize the hair shaft. I however, always shampoo.
- Towel dry and finish with a blow dryer.
|
|
|
